Using the Raspberry Pi camera for educational purposes in photography can be a game - changer in the learning environment. Whether you're a teacher, a student, or an educational institution looking to spice up your curriculum, the Raspberry Pi camera offers a world of possibilities. As a Camera Raspberry PI supplier, I'm excited to share some tips and ideas on how to make the most of this amazing tool in photography education.
Getting Your Hands on the Right Camera Module
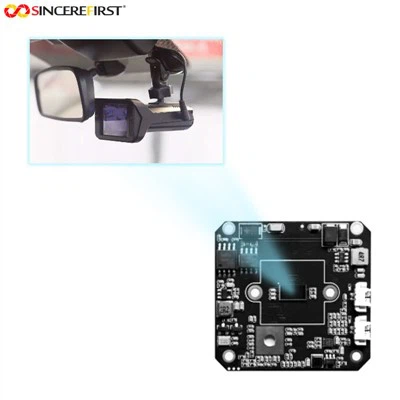
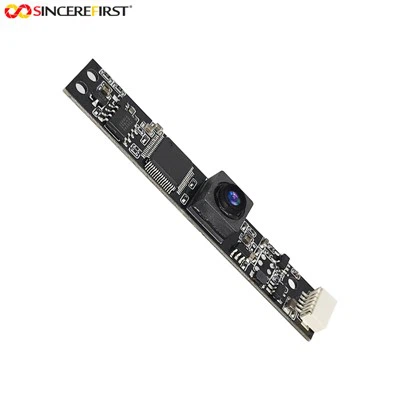
First things first, you'll need to choose the right camera module for your Raspberry Pi. Two great options are the Arducam Camera Module and the Ambarella Camera Module. The Arducam Camera Module comes with a range of features like high - resolution imaging and support for different lens types. It's super versatile and can be used for a variety of photography projects, from macro photography to landscape shots.
On the other hand, the Ambarella Camera Module is known for its excellent video capabilities. If you're planning to teach students about video production and cinematography in addition to still photography, this module is a solid choice. You can find more details about these and other camera modules on our Camera Module in Raspberry PI page.
Setting Up the Raspberry Pi Camera
Once you've got your camera module, it's time to set it up. The process is actually quite straightforward. First, make sure your Raspberry Pi is powered off. Connect the camera module to the Raspberry Pi's camera port. It's a small, flat connector that's usually located near the HDMI port. Gently insert the ribbon cable into the connector, making sure it's properly seated and the colored stripe on the cable is facing the correct way (usually towards the HDMI port).
After that, power on your Raspberry Pi and open the terminal. You'll need to enable the camera interface. Type in the following command: sudo raspi - config. Navigate to the "Interfacing Options" menu, then select "Camera" and enable it. Reboot your Raspberry Pi, and you're almost ready to start taking pictures.
Basic Photography Concepts with the Raspberry Pi Camera
Now that your camera is set up, you can start teaching basic photography concepts. One of the first things students can learn is about aperture, shutter speed, and ISO. These three elements are known as the exposure triangle.
- Aperture: This refers to the size of the opening in the camera lens. A larger aperture (e.g., f/1.8) lets in more light and results in a shallower depth of field, which means the subject is in focus while the background is blurred. You can demonstrate this by having students take pictures of a single object against a busy background with different aperture settings.
- Shutter Speed: This is the length of time the camera's shutter is open. A fast shutter speed (e.g., 1/1000s) can freeze motion, while a slow shutter speed (e.g., 1/30s) can create a motion blur effect. Have students take pictures of moving objects like a spinning fan or a person running at different shutter speeds to see the difference.
- ISO: ISO measures the sensitivity of the camera's sensor to light. A higher ISO (e.g., ISO 800) makes the sensor more sensitive, which is useful in low - light situations. However, it also introduces more noise (grain) in the image. Students can experiment by taking pictures in a dimly lit room at different ISO settings.
Creative Photography Projects
The Raspberry Pi camera is perfect for all sorts of creative photography projects. Here are a few ideas:
Time - lapse Photography
Time - lapse photography involves taking a series of photos at regular intervals and then combining them into a video. This is a great way to show the passage of time, such as a flower blooming or the movement of clouds. To set up a time - lapse project, you can use a Python script. Here's a simple example:

import time
import picamera

with picamera.PiCamera() as camera:
    camera.resolution = (1920, 1080)
    for i in range(100):
        camera.capture('image{0:04d}.jpg'.format(i))
        time.sleep(60)
This script will take a photo every minute for about an hour and a half. You can then use video editing software to combine the photos into a time - lapse video.
Macro Photography
Macro photography is all about taking close - up shots of small objects. With the right lens for your Raspberry Pi camera, students can explore the tiny details of insects, plants, or even the texture of everyday objects. You can set up a macro photography station with a diffused light source to create soft, even lighting. Encourage students to get creative with their compositions and focus on the unique features of their subjects.
Night Sky Photography
The Raspberry Pi camera can also be used for night sky photography. Students can learn about astrophotography, including how to capture stars, constellations, and even the Milky Way. To do this, you'll need a tripod to keep the camera steady and a long exposure setting. You can use the camera's manual controls to set a slow shutter speed (e.g., 15 - 30 seconds), a high ISO (e.g., ISO 800 - 1600), and a small aperture (e.g., f/8) to get a clear and sharp image of the night sky.
Integrating with Other Subjects
Photography with the Raspberry Pi camera can be integrated with other subjects in the curriculum. For example, in a science class, students can use the camera to document plant growth over time or to capture images of specimens under a microscope. In a history class, they can take photos of historical sites or re - enact historical events and use the images to create a visual timeline.
Connecting with the Community
There's a huge community of Raspberry Pi enthusiasts out there. Encourage students to share their photography projects online. They can join photography forums, post their work on social media, or even participate in Raspberry Pi - related photography contests. This not only gives them a chance to showcase their skills but also allows them to learn from others and get feedback on their work.
Wrapping It Up
In conclusion, using the Raspberry Pi camera for educational purposes in photography is a fantastic way to engage students in a hands - on learning experience. From basic photography concepts to creative projects, the possibilities are endless. And as a Camera Raspberry PI supplier, we're here to support you every step of the way. Whether you're looking for the right camera module, need help with setup, or have questions about photography projects, feel free to get in touch with us to start a procurement discussion.
References
- Raspberry Pi Foundation official documentation
- Online photography tutorials and blogs
- Python programming resources for Raspberry Pi