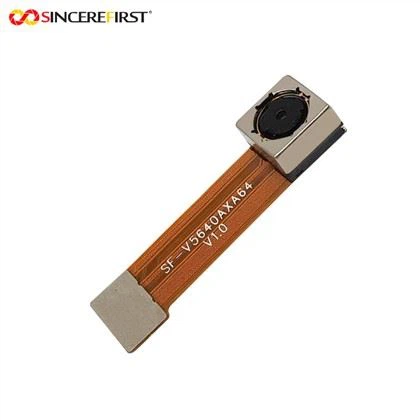
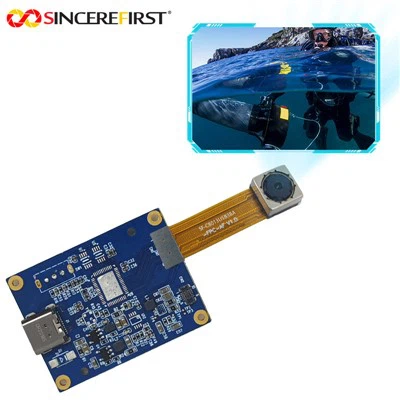
As a supplier of Camera Raspberry Pi, I've witnessed the growing trend of using Raspberry Pi cameras for various applications, especially pet monitoring. In this blog post, I'll share some practical ways to utilize the Raspberry Pi camera for keeping an eye on your furry friends.
Why Choose Raspberry Pi Camera for Pet Monitoring?
The Raspberry Pi camera offers several advantages over traditional pet - monitoring devices. Firstly, it is cost - effective. Compared to commercial pet cameras that can be quite expensive, the Raspberry PI Camera Module is an affordable alternative. You can get a high - quality camera at a fraction of the cost.
Secondly, it is highly customizable. With the Raspberry Pi's open - source nature, you can write your own scripts to perform specific functions, such as motion detection, time - lapse recording, or even integrating with other smart home devices. This flexibility allows you to create a pet - monitoring system that exactly meets your needs.
Thirdly, the image and video quality of the Raspberry Pi camera is excellent. The 12MP IMX708 Raspberry Pi Camera Module provides sharp and clear images, even in low - light conditions. This ensures that you can clearly see your pet's activities at any time of the day.
Setting up the Raspberry Pi for Pet Monitoring
Hardware Installation
- Connect the Camera: First, make sure your Raspberry Pi is powered off. Locate the camera port on the Raspberry Pi board. Gently insert the camera ribbon cable into the port, ensuring that the blue side of the cable faces the Ethernet port (on most models).
- Power Supply: Connect the Raspberry Pi to a stable power source. A good quality micro - USB power adapter is recommended to ensure the device runs smoothly.
- Mount the Camera: Decide on the best location to mount the camera. It should have a clear view of the area where your pet spends most of its time. You can use a camera stand or mount it on a wall using appropriate hardware.
Software Configuration
- Enable the Camera Interface: Boot up your Raspberry Pi and open the terminal. Type the following command:
Navigate to the "Interfacing Options" and select "Camera". Enable the camera interface and then exit the configuration tool. Reboot the Raspberry Pi.sudo raspi - config - Install Necessary Software: You can use Python libraries like
picamerato control the camera. Install it using the following command:
If you prefer a graphical user interface, there are also apps available for easy camera control.sudo apt - get install python - picamera
Basic Pet Monitoring Functions
Real - time Viewing
You can set up a simple Python script to stream the camera feed in real - time. Here is a basic example:
import picamera
import time

camera = picamera.PiCamera()
camera.resolution = (640, 480)
camera.start_preview()
time.sleep(60)  # Stream for 60 seconds
camera.stop_preview()
camera.close()
This script will start the camera preview for 60 seconds. You can modify the code to run indefinitely or integrate it with a web server to view the feed remotely on your computer or mobile device.
Motion Detection
Motion detection is a useful feature for pet monitoring. You can detect when your pet moves in the camera's field of view and take action, such as sending an alert or starting a recording.
import cv2
import numpy as np
from picamera.array import PiRGBArray
from picamera import PiCamera
import time

threshold = 40
min_area = 200

camera = PiCamera()
camera.resolution = (640, 480)
rawCapture = PiRGBArray(camera, size=(640, 480))

time.sleep(0.1)

first_frame = None

for frame in camera.capture_continuous(rawCapture, format="bgr", use_video_port=True):
    image = frame.array
    gray = cv2.cvtColor(image, cv2.COLOR_BGR2GRAY)
    gray = cv2.GaussianBlur(gray, (21, 21), 0)

    if first_frame is None:
        first_frame = gray
        rawCapture.truncate(0)
        continue

    frame_delta = cv2.absdiff(first_frame, gray)
    thresh = cv2.threshold(frame_delta, threshold, 255, cv2.THRESH_BINARY)[1]
    thresh = cv2.dilate(thresh, None, iterations=2)
    contours, _ = cv2.findContours(thresh.copy(), cv2.RETR_EXTERNAL, cv2.CHAIN_APPROX_SIMPLE)

    for contour in contours:
        if cv2.contourArea(contour) < min_area:
            continue
        (x, y, w, h) = cv2.boundingRect(contour)
        cv2.rectangle(image, (x, y), (x + w, y + h), (0, 255, 0), 2)

    cv2.imshow("Security Feed", image)
    key = cv2.waitKey(1) & 0xFF

    if key == ord("q"):
        break

    rawCapture.truncate(0)

cv2.destroyAllWindows()
This Python code uses the OpenCV library to detect motion in the camera feed. When motion is detected, it draws a green rectangle around the moving object.
Recording
You may want to record your pet's activities for later review. The following Python code can be used to start recording a video:
import picamera
import time

camera = picamera.PiCamera()
camera.resolution = (1280, 720)
camera.start_recording('pet_video.h264')
time.sleep(60)  # Record for 60 seconds
camera.stop_recording()
camera.close()
Advanced Features and Integrations
Integration with Smart Home Systems
You can integrate the Raspberry Pi pet - monitoring system with other smart home devices. For example, you can connect it to a smart speaker to receive voice alerts when motion is detected. You can also integrate it with a home automation platform like Home Assistant to control the camera and view the feed from a central dashboard.


Cloud Storage
Storing the recorded videos in the cloud provides an extra layer of security and convenience. Services like Google Drive, Dropbox, or Amazon S3 can be used to store the video files. You can write a script to automatically upload the recorded videos to the cloud storage.
Conclusion
Using a Raspberry Pi camera for pet monitoring is a great way to keep an eye on your furry friends when you're away. With its cost - effectiveness, customizability, and excellent image quality, it offers a powerful alternative to traditional pet - monitoring devices.
Whether you're interested in basic real - time viewing, motion detection, or more advanced integrations, the Camera Module in Raspberry PI can meet your needs.
If you're considering setting up a pet - monitoring system using Raspberry Pi cameras, we're here to help. As a leading supplier of Camera Raspberry Pi, we offer a wide range of camera modules, high - quality hardware, and technical support. Contact us to discuss your specific requirements and start building your custom pet - monitoring solution today.
References
- "Raspberry Pi Camera Module Documentation", Raspberry Pi Foundation
- "OpenCV Documentation", OpenCV developers
- "Python Programming for Beginners", Various online resources