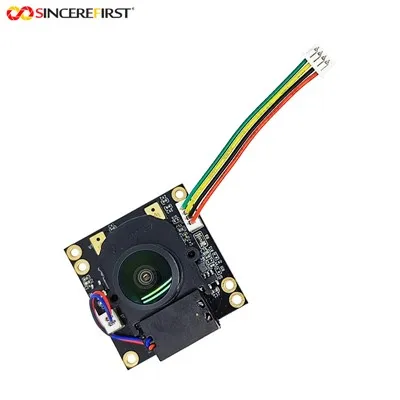
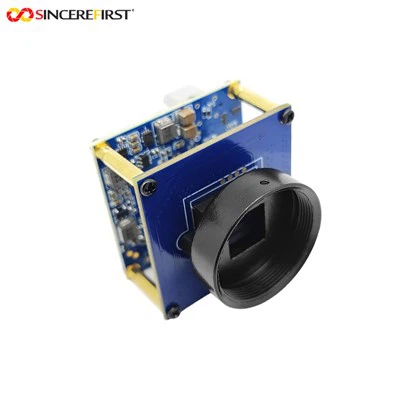
Hey there! As a supplier of 8mp USB camera modules, I often get asked about how to calibrate these nifty little devices. Calibration is super important to make sure your camera is performing at its best, giving you sharp, clear, and accurate images. So, let's dive right in and explore the ins and outs of calibrating an 8mp USB camera module.
Why Calibration Matters
Before we get into the how - to, let's talk about why calibration is such a big deal. An uncalibrated camera can produce images that are blurry, have color inaccuracies, or uneven lighting. Calibration helps to correct these issues, ensuring that every shot you take is of the highest quality. Whether you're using the camera for professional photography, surveillance, or just some casual snaps, a well - calibrated camera makes all the difference.
What You'll Need
To calibrate your 8mp USB camera module, you'll need a few things:

- A calibration target: This can be a checkerboard pattern or a color chart. You can print these out at home or buy them online.
- A stable surface: You need to place your camera and the calibration target on a flat, stable surface to avoid any movement during the calibration process.
- Calibration software: There are several free and paid software options available. Some popular ones include OpenCV, which is a powerful open - source computer vision library, and CalCam, which is specifically designed for camera calibration.
Step - by - Step Calibration Process
Step 1: Set Up Your Equipment
First, find a well - lit area and place your calibration target on a flat surface. Make sure the target is clean and free of any wrinkles or smudges. Then, connect your 8mp USB camera module to your computer. You can do this by plugging the USB cable into the camera and then into an available USB port on your computer.
Step 2: Install and Open the Calibration Software
Once your camera is connected, install the calibration software you've chosen. After installation, open the software. You'll usually see a simple interface where you can select your camera as the input source.
Step 3: Capture Images of the Calibration Target
In the software, start the image capture process. Move the calibration target around in front of the camera, making sure to capture it from different angles and distances. Try to cover as much of the camera's field of view as possible. You'll need to take at least 10 - 15 good quality images for accurate calibration.
Step 4: Analyze the Captured Images
After you've captured all the necessary images, use the software to analyze them. The software will detect the calibration target in each image and calculate the camera's intrinsic and extrinsic parameters. Intrinsic parameters describe the properties of the camera lens, such as focal length and distortion. Extrinsic parameters describe the position and orientation of the camera relative to the calibration target.
Step 5: Apply the Calibration
Once the analysis is complete, the software will generate a calibration file. This file contains all the information needed to correct the camera's images. Apply the calibration to your camera settings in the software. You can then test the calibration by taking a few test shots.
Troubleshooting
Sometimes, the calibration process might not go as smoothly as planned. Here are some common issues and how to fix them:
- Poor image quality: If the images you've captured are blurry or have low contrast, try adjusting the lighting or the camera's focus settings. You might also need to clean the camera lens.
- Software errors: If the calibration software gives you an error message, check that you've installed the latest version of the software. You can also try restarting your computer and the camera.
- Inaccurate calibration: If the calibrated images still have issues, you might need to capture more images or try a different calibration target.
Other Camera Modules We Offer
If you're interested in other camera modules, we've got a great selection. Check out our 4k USB Camera Module for high - resolution video and image capture. It's perfect for applications that require top - notch quality. We also have the 50MP Sony IMX766, which offers amazing detail and color accuracy. And for those who need a wide - angle option, our 5MP 1080P 70FPS Wide Angle USB Camera Module is a great choice.
Conclusion
Calibrating your 8mp USB camera module might seem a bit daunting at first, but with the right tools and a little patience, it's a relatively straightforward process. A well - calibrated camera will give you much better results, whether you're using it for work or play.
If you're interested in purchasing our 8mp USB camera modules or any of our other products, we'd love to hear from you. Reach out to us for more information and to start a purchase negotiation. We're here to help you find the perfect camera solution for your needs.
References
- OpenCV Documentation
- CalCam User Manual