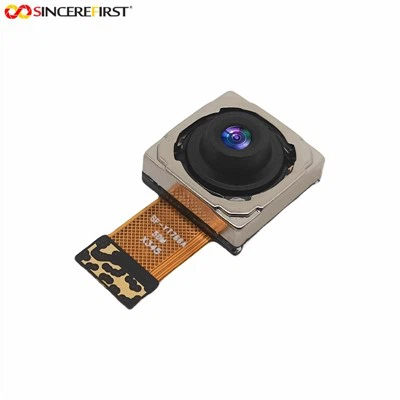
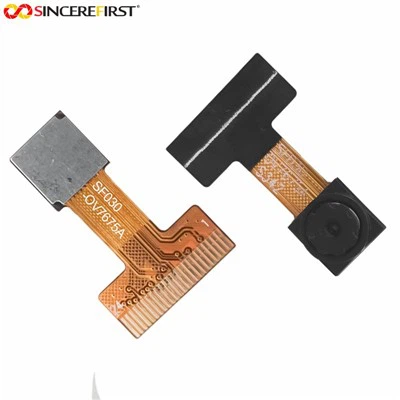
In today's era of high - tech advancement, optical imaging technology plays a crucial role in numerous fields, such as surveillance systems, industrial inspection, and consumer electronics. As a leading supplier of OV5640 Autofocus modules, I'm here to share a comprehensive guide on how to install the OV5640 autofocus module. This practical knowledge will help you make the most of our state - of - the - art product.
Understanding the OV5640 Autofocus Module
Before initiating the installation process, it's essential to gain a clear understanding of the OV5640 autofocus module's features and components. The OV5640 is a high - performance 5 - megapixel image sensor that offers outstanding image quality, low power consumption, and a compact design. It's equipped with an autofocus mechanism, which enables precise focusing on objects at various distances, delivering sharp and clear images.
Tools Required
To ensure a smooth installation process, gather the following tools:


- Soldering Iron and Solder: For making electrical connections.
- Fine - tip Tweezers: To handle small components with precision.
- Screwdriver Set: Different types of screws may be used in the installation process.
- Multimeter: To test electrical connections and ensure proper voltage levels.
- Magnifying Glass: Useful for inspecting small soldering joints and components.
Installation Steps
Step 1: Prepare the Working Area
Ensure your workspace is clean, well - lit, and free of any potential static electricity. You can use an anti - static mat to prevent any damage to the sensitive components of the OV5640 autofocus module.
Step 2: Check the Equipment
Inspect the OV5640 autofocus module thoroughly for any visible damage during transportation. Also, check the associated PCB (Printed Circuit Board) and cables for any signs of wear or breakage.
Step 3: Mount the Module on the PCB
- Carefully place the OV5640 autofocus module on the designated area of the PCB. Make sure the pins on the module align precisely with the corresponding holes on the PCB.
- If the module uses through - hole technology, insert the pins gently through the holes. For surface - mount components, use fine - tip tweezers to place the module in the correct position on the pads.
- Once the module is in place, use a soldering iron to solder the pins to the PCB. Heat the soldering iron to an appropriate temperature (usually around 350 - 400°C), then touch the tip of the iron to the pin and the pad simultaneously. Apply a small amount of solder, allowing it to flow smoothly and form a solid connection. Be careful not to create solder bridges between adjacent pins.
Step 4: Connect the Power and Signal Cables
- Identify the power input pins on the PCB. Connect the power cables according to the polarity markings. Use a multimeter to measure the voltage at the power input to ensure it matches the module's requirements.
- Connect the signal cables, such as the data and control cables, to their respective ports. These cables transmit the image data and control signals between the module and the host device. Ensure the connections are secure to avoid any signal loss or interference.
Step 5: Install the Lens
- If the OV5640 autofocus module comes with a detachable lens, carefully install it according to the manufacturer's instructions. Usually, the lens can be gently screwed or snapped onto the module.
- Ensure the lens is clean and free of any dust or fingerprints. A dirty lens can significantly degrade the image quality.
Step 6: Test the Installation
- Power on the system and check if the module powers up correctly. You can use the onboard indicators or a software interface to verify the power status.
- Use the corresponding software to start capturing images. Observe the image quality and check if the autofocus function is working properly. Try focusing on objects at different distances and see if the module can adjust the focus accurately.
Troubleshooting
If you encounter any issues during the installation or testing process, here are some common problems and solutions:
- No Power: Check the power connections, ensure the voltage supply is correct, and inspect for any blown fuses on the PCB.
- Poor Image Quality: Check the lens for dirt or damage. Also, check the signal cables for loose connections.
- Autofocus Not Working: Check the control signals from the host device. Ensure the firmware of the module is up - to - date.
Additional Product Recommendations
As an OV5640 Autofocus supplier, we also offer other high - quality autofocus camera modules. Consider our Best 13MP Sony IMX258 Autofocus USB Camera Sensor Module, which provides excellent image clarity and high - speed data transfer. The 5MP USB Camera Auto Focus Lens 30FPS Camera Module is a great choice for applications that require high - frame - rate video capture. Another option is our 4K 8MP Sony IMX179 Digital Autofocus Camera Module, which is suitable for demanding 4K video applications.
Contact Us for Purchase and Consultation
We are committed to providing you with the best - quality OV5640 Autofocus modules and other related products. Whether you are interested in small - scale projects or large - scale industrial applications, we can offer you suitable solutions. If you have any questions about the installation process, product performance, or would like to discuss purchasing options, don't hesitate to contact us. Our professional team is ready to assist you and guide you through the entire process.
References
- Omnivision OV5640 Datasheet
- Camera Module Installation Guides from Industry Standard Resources