Adjusting the aperture of a CMOS camera module is a crucial skill for photographers and electronic enthusiasts alike. As a reliable CMOS camera module supplier, we understand the importance of aperture control in achieving high - quality images. In this blog, we will delve into the concept of aperture, its significance, and detailed steps on how to adjust the aperture of a CMOS camera module.

Understanding Aperture
Aperture refers to the opening in the lens of a camera through which light passes. It is measured in f - stops, such as f/1.2, f/1.8, f/2.8, etc. A smaller f - stop number indicates a larger aperture opening, allowing more light to enter the camera. Conversely, a larger f - stop number means a smaller aperture, reducing the amount of light that reaches the image sensor.
The aperture plays a vital role in three main aspects of photography: light intake, depth of field, and sharpness.
- Light Intake: In low - light environments, a larger aperture (smaller f - stop) is essential to gather enough light to create a well - exposed image. For example, if you are taking pictures at night or indoors with limited lighting, setting the aperture to f/1.8 or f/2.0 can make a significant difference in the brightness of the image.
- Depth of Field: Depth of field refers to the range of distance in a photo that appears sharp. A large aperture (small f - stop) results in a shallow depth of field, where the subject is in focus and the background is blurred. This effect is often used in portrait photography to draw attention to the subject. On the other hand, a small aperture (large f - stop) gives a greater depth of field, making both the foreground and background in focus. Landscape photographers commonly use a small aperture to ensure sharpness across the entire image.
- Sharpness: Each lens has an optimal aperture setting where it produces the sharpest images. This is typically around two to three stops from the maximum aperture. For instance, if a lens has a maximum aperture of f/1.8, the sharpest images may be achieved between f/2.8 and f/4.
Types of CMOS Camera Modules and Their Aperture Characteristics
As a CMOS camera module supplier, we offer a diverse range of products, each with unique aperture capabilities. Here are some of our popular camera modules and their aperture features:
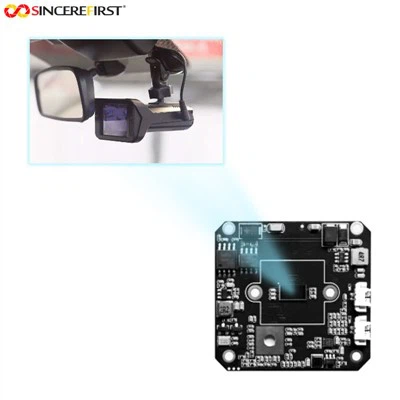
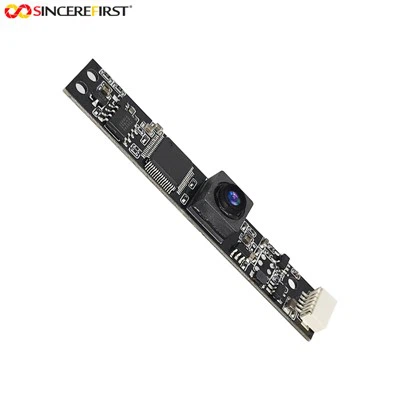
- 8MP OmniVision OV8856 CMOS Sensor Mini FPC Camera Module: This module is designed with a compact form factor, making it suitable for a variety of applications such as mobile devices, tablets, and small - sized surveillance cameras. It has a supportable aperture range that can be adjusted to adapt to different lighting conditions and shooting scenarios.
- Low Light 8mp Sony IMX585 Sensor Starvis HDR Camera Module: As the name suggests, this module excels in low - light environments. It has a relatively large maximum aperture, which allows it to capture clear and detailed images even in dimly lit areas. The ability to adjust the aperture precisely enables users to make the most of the low - light performance.
- Sony IMX586 IMX686 IMX766 Stacked CMOS Sensor OIS Camera Module: This high - end camera module features advanced sensors and optical image stabilization (OIS). The aperture adjustment in this module is highly accurate, providing users with greater control over the light intake and depth of field. It is ideal for professional photography and high - quality video recording.
How to Adjust the Aperture of a CMOS Camera Module
The process of adjusting the aperture of a CMOS camera module can vary depending on the specific module and the device it is integrated into. Here are the general steps:
Step 1: Check the Camera Module Specifications
Before attempting to adjust the aperture, it is essential to refer to the camera module's datasheet or user manual. This will provide you with information about the available aperture settings, the method of adjustment, and any limitations or precautions.
Step 2: Determine the Shooting Requirements
Based on the lighting conditions, the type of subject, and the desired effect, decide on the appropriate aperture setting. If you are shooting in bright sunlight and want a large depth of field, you may choose a small aperture (e.g., f/8 or f/11). If you are in a low - light situation and want to create a soft, blurred background, a large aperture (e.g., f/1.8 or f/2.0) would be more suitable.
Step 3: Access the Aperture Setting
The way to access the aperture setting depends on whether the camera module is integrated into a mobile device, a dedicated camera, or a custom - built system.
- Mobile Devices: In most modern smartphones, the aperture adjustment can be found in the camera app's settings menu. Look for options like "Aperture", "F - stop", or "Depth of Field". Some smartphones may also have a dedicated "Pro" or "Manual" mode where you can have more control over the camera settings, including aperture.
- Dedicated Cameras: For standalone cameras, the aperture is usually adjusted using a dial or buttons on the camera body. Look for a dial labeled "A" (Aperture Priority) or "M" (Manual). In Aperture Priority mode, you can set the desired aperture, and the camera will automatically adjust the shutter speed to achieve a proper exposure. In Manual mode, you need to set both the aperture and shutter speed manually.
- Custom - Built Systems: If the CMOS camera module is part of a custom - built system, you may need to use software or programming code to adjust the aperture. This often involves interacting with the camera module's driver or using an API (Application Programming Interface) provided by the manufacturer.
Step 4: Make the Adjustment
Once you have accessed the aperture setting, use the available controls to select the desired f - stop. You can use the "+" and "-" buttons on a phone, turn the dial on a camera, or send commands through software to adjust the aperture. As you make the adjustment, pay attention to the changes in the viewfinder or the preview on the screen, such as the brightness of the image and the depth of field.
Step 5: Evaluate and Fine - Tune
After setting the aperture, take a test shot and review the results. Check if the exposure is correct, the depth of field is as desired, and the sharpness meets your expectations. If necessary, make further adjustments to the aperture or other camera settings like shutter speed and ISO.
Troubleshooting Aperture Adjustment Issues
Sometimes, you may encounter problems when adjusting the aperture of a CMOS camera module. Here are some common issues and their solutions:
- Aperture Not Changing: If the aperture setting does not change when you try to adjust it, first check if the camera is in the correct mode. Some cameras may lock the aperture in certain shooting modes. If the problem persists, check for any software glitches or hardware malfunctions. You may need to restart the camera or device, or contact the manufacturer for further assistance.
- Incorrect Exposure: If the image is overexposed or underexposed after adjusting the aperture, you may need to adjust the shutter speed or ISO accordingly. Remember that aperture, shutter speed, and ISO are interdependent, and changing one setting will affect the others.
- Blurry Images: Blurry images can be caused by a variety of factors, including incorrect aperture settings. If you are using a large aperture and the subject is not in focus, make sure you are focusing on the correct part of the image. You may also need to adjust the aperture to a more appropriate value if the depth of field is too shallow.
Conclusion
Adjusting the aperture of a CMOS camera module is a fundamental skill that can significantly enhance the quality of your photos and videos. As a CMOS camera module supplier, we are committed to providing you with high - quality products and the knowledge to make the most of them. Whether you are a professional photographer or an amateur enthusiast, understanding and mastering aperture adjustment will allow you to unleash the full potential of your camera module.
If you are interested in our 8MP OmniVision OV8856 CMOS Sensor Mini FPC Camera Module, Low Light 8mp Sony IMX585 Sensor Starvis HDR Camera Module, Sony IMX586 IMX686 IMX766 Stacked CMOS Sensor OIS Camera Module or other camera modules, please feel free to contact us for more information and to discuss your procurement needs. We look forward to working with you to achieve your imaging goals.
References
- "Camera Aperture: A Beginner's Guide", Photography Life
- "Understanding Aperture in Photography", Digital Photography School
- Datasheets of OmniVision OV8856, Sony IMX585, Sony IMX586, Sony IMX686, and Sony IMX766 sensors