Hey there! I'm an Imx179 8mp USB Camera supplier, and I'm super stoked to share with you how to set up the Imx179 8mp USB Camera for a multi - camera setup. Whether you're into surveillance, live streaming, or just want to have some high - quality visuals for your projects, a multi - camera setup can take things to the next level.
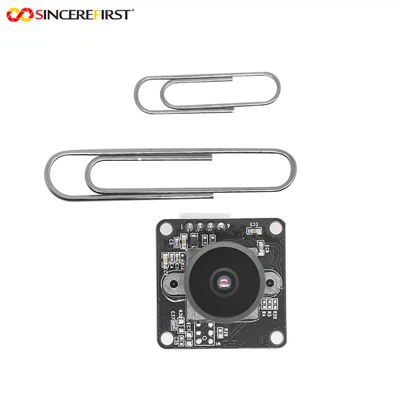
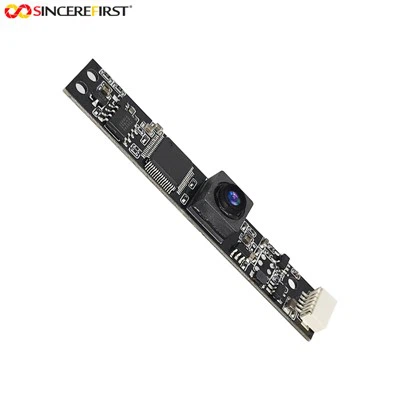
First off, let's talk about what you'll need. Obviously, you'll need the 8MP IMX179 USB3.0 Separate Camera Module. This bad boy is packed with features that make it a great choice for multi - camera setups. It's got an 8 - megapixel resolution, which means you'll get crystal - clear images and videos. The USB3.0 interface ensures fast data transfer, so you won't have to worry about lag or buffering.
In addition to the cameras, you'll need a computer with enough USB ports to connect all your cameras. Make sure your computer meets the minimum system requirements for the cameras. You'll also need a good power source. If you're connecting multiple cameras, your computer's USB ports might not be able to supply enough power. You can use a powered USB hub to solve this problem.
Now, let's get into the actual setup process.


Step 1: Check Your Hardware
Before you start plugging in the cameras, give them a quick once - over. Check for any physical damage to the camera body, the USB cable, or the connectors. If you find any issues, don't try to use the camera. Instead, contact us, and we'll help you out.
Step 2: Install the Drivers
Most modern operating systems can detect and install the drivers for the Imx179 8mp USB Camera automatically. But sometimes, you might need to install them manually. You can usually find the drivers on the camera's official website. Just download the appropriate drivers for your operating system, run the installation file, and follow the on - screen instructions.
Step 3: Connect the Cameras
Once the drivers are installed, it's time to connect the cameras. Start by plugging the USB cable of the first camera into a USB port on your computer or a powered USB hub. If you're using a USB hub, make sure it's connected to a power source. Repeat this process for all the cameras you want to use in your multi - camera setup.
Step 4: Configure the Cameras
After connecting all the cameras, you'll need to configure them. This usually involves adjusting settings like resolution, frame rate, and exposure. You can use the camera's software, which is usually included with the drivers, to make these adjustments. Open the software, and you should see a list of connected cameras. Select the camera you want to configure, and start tweaking the settings until you're happy with the results.
Step 5: Test the Setup
Once you've configured all the cameras, it's time to test the setup. Open a video - recording or streaming application that supports multi - camera input. Most popular applications like OBS (Open Broadcaster Software) and Adobe Premiere Pro have this feature. Select all the cameras you want to use, and start a test recording or stream. Check the image quality, the frame rate, and the overall performance. If you notice any issues, go back and adjust the settings.
Considerations for Night Vision
If you're planning to use your multi - camera setup in low - light conditions, you might want to consider adding a Night Vision Module. This module can significantly improve the camera's performance in the dark. It uses infrared technology to capture clear images even when there's very little visible light.
Compatibility with Other Camera Modules
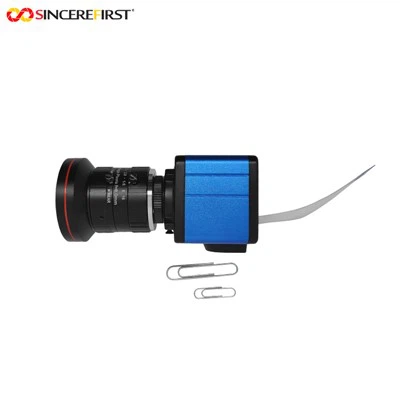
If you want to mix and match different camera models in your multi - camera setup, make sure they're compatible. For example, our Sony IMX334 4k 60fps Full Frame USB Camera Module is a high - end option that can be used alongside the Imx179 8mp USB Camera. Just make sure your computer can handle the additional data load and that the software you're using supports both camera models.
Troubleshooting
Sometimes, things might not go as smoothly as planned. Here are some common issues and how to fix them:
- Camera not detected: Check the USB connection. Make sure the cable is properly plugged in and that the USB port is working. You can also try restarting your computer and the camera.
- Poor image quality: Check the camera settings. Make sure the resolution, frame rate, and exposure are set correctly. You might also want to clean the camera lens.
- Slow data transfer: This could be due to a slow USB port or a problem with the USB cable. Try using a different USB port or a shorter, higher - quality USB cable.
In conclusion, setting up an Imx179 8mp USB Camera for a multi - camera setup isn't that difficult. Just follow the steps I've outlined above, and you'll be up and running in no time. If you have any questions or need further assistance, don't hesitate to reach out. We're here to help you get the most out of your cameras.
If you're interested in purchasing the Imx179 8mp USB Camera or any of our other camera modules, we'd love to talk to you. Whether you're a small - scale user or a large - scale enterprise, we can provide you with the right products and support. Reach out to us, and let's start a conversation about your camera needs.
References
- Camera user manual
- Manufacturer's official documentation