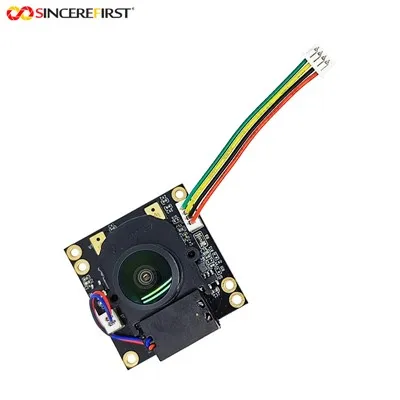
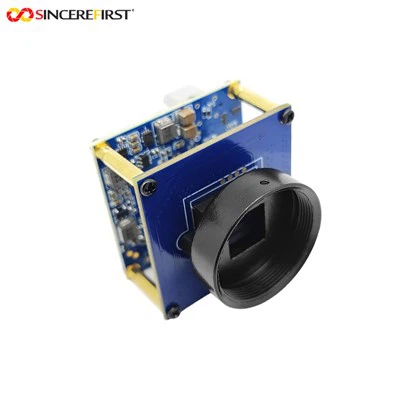
Hey there, tech enthusiasts! If you're into Arduino projects and looking to add some visual capabilities, you're in the right place. I'm a supplier of CMOS camera modules, and today, I'm going to walk you through the process of connecting a CMOS camera module to an Arduino.


Why Use a CMOS Camera Module with Arduino?
Before we dive into the connection process, let's talk about why you might want to use a CMOS camera module with your Arduino. These camera modules are compact, affordable, and offer decent image quality. They can be used for a variety of projects, such as surveillance systems, object detection, and even simple robotics. With the right programming, you can capture images, process them, and make decisions based on what the camera sees.
Choosing the Right CMOS Camera Module
There are several types of CMOS camera modules available in the market. As a supplier, I can recommend a few popular ones. For example, the Smart Camera Module is a great option for beginners. It's easy to use and comes with built-in features that make it suitable for a wide range of applications. If you're looking for something more advanced, the AI Camera Module offers artificial intelligence capabilities, allowing you to perform tasks like face recognition and object classification. And if you need high-quality images, the Sony IMX989 Large Cmos Inage Sensor Compact Camera Module is a top-of-the-line choice.
What You'll Need
To connect a CMOS camera module to an Arduino, you'll need the following:
- A CMOS camera module
- An Arduino board (e.g., Arduino Uno, Mega, or Nano)
- A breadboard
- Jumper wires
- A power supply
Step-by-Step Connection Process
Step 1: Check the Pinout of Your Camera Module
The first thing you need to do is check the pinout of your CMOS camera module. Different modules may have different pin configurations, so it's important to refer to the datasheet or user manual. Typically, a CMOS camera module will have pins for power (VCC and GND), data transfer (e.g., I2C or SPI), and a reset pin.
Step 2: Power the Camera Module
Connect the VCC pin of the camera module to the 3.3V or 5V pin on your Arduino, depending on the module's requirements. Connect the GND pin to the ground pin on the Arduino. Make sure to use a breadboard and jumper wires to make the connections.
Step 3: Connect the Data Lines
If your camera module uses the I2C interface, connect the SDA (Serial Data) and SCL (Serial Clock) pins to the corresponding pins on the Arduino. On most Arduino boards, the SDA and SCL pins are labeled A4 and A5, respectively. If your module uses the SPI interface, connect the MOSI (Master Out Slave In), MISO (Master In Slave Out), SCK (Serial Clock), and SS (Slave Select) pins to the appropriate pins on the Arduino.
Step 4: Connect the Reset Pin
Some camera modules have a reset pin that you can use to reset the module if needed. Connect this pin to a digital pin on the Arduino. You can use a pull-up resistor to ensure that the reset pin is high by default.
Step 5: Upload the Code
Once you've made all the connections, it's time to upload the code to your Arduino. There are several libraries available that can help you communicate with the camera module. For example, the Wire library can be used for I2C communication, and the SPI library can be used for SPI communication. You can find example code online or in the documentation of your camera module.
Troubleshooting
If you're having trouble getting your camera module to work, here are some common issues and solutions:
- No power: Check the power connections to make sure the camera module is getting power.
- Data transfer issues: Make sure the data lines are connected correctly and that the communication protocol (I2C or SPI) is set up correctly in your code.
- Reset issues: If the camera module is not responding, try resetting it using the reset pin.
Conclusion
Connecting a CMOS camera module to an Arduino is a fun and rewarding project. With the right camera module and a little bit of programming, you can add visual capabilities to your Arduino projects. If you're interested in purchasing a CMOS camera module for your project, feel free to contact us for more information and to discuss your specific needs. We're here to help you find the right solution for your project.
References
- Arduino official documentation
- Camera module datasheets and user manuals